
You’ve been staring at the same three-second transition for twenty minutes. Your eyes burn, your coffee went stone-cold three hours ago, and you just want the rendering progress bar to hit 100% so you can finally go to sleep. I’ve been there. Back when I was churning out daily vlogs on a brutal turnaround schedule, I treated the export button like a lottery ticket. Click render, close the laptop, and pray to the algorithmic gods that the audio didn’t drift out of sync halfway through. Here’s the ugly truth: it always did. Or worse, the blacks were crushed, a stray placeholder text layer sat glaringly in the middle of minute five, or the file size was so massive it took twelve hours to upload on shaky hotel Wi-Fi. Trust me on this—running through a rigid, unyielding export checklist isn’t a waste of time. It’s the only thing keeping you from public humiliation.
- • The Audio Sweep: Loudness and Sync Checks
- • Scrubbing the Timeline for Placeholder Errors and Ghost Assets
- • Color Grading Sanity Check on Multiple Monitors
- • Codec, Container, and Bitrate Optimization
- • Final File Naming and Destination Sanitation
- ↳ Should I export my daily vlogs in 4K or 1080p?
- ↳ Why does my video look so dark after exporting?
- ↳ What is the best audio format for video exports?
- ↳ How can I speed up my export times without sacrificing quality?
Key Takeaways & Quick Overview
AI Verified
- ✔You’ve been staring at the same three-second transition for twenty minutes.
- ✔Your eyes burn, your coffee went stone-cold three hours ago, and you just want the rendering progress bar to hit 100% so you can finally go to sleep.
- ✔Back when i was churning out daily vlogs on a brutal turnaround schedule, i treated the export button like a lottery ticket.
- ✔Click render, close the laptop, and pray to the algorithmic gods that the audio didn’t drift out of sync halfway through.
The Audio Sweep: Loudness and Sync Checks
Sound is half the visual experience, yet 90% of creators treat it as an afterthought. Before you even look at your video tracks, you need to conduct a forensic audio sweep. I’ve noticed a terrible habit among daily vloggers who slap on royalty-free tracks at -10dB and call it a day, only to have their spoken dialogue completely swallowed by a sudden drum drop.
Check your dialogue peaks. They should sit comfortably between -12dB and -6dB. If you are uploading to platforms like YouTube, pay attention to LUFS loudness standards for streaming to ensure your vlog doesn’t blow out viewer eardrums when the intro hits. Next, zoom your timeline all the way in to the single frame level. Check your cuts. Did an audio track shift slightly when you trimmed that reaction shot? Look at the waveforms. If the visual lip movement doesn’t match the audio transient, fix it now. No amount of color grading will save a video that looks like a poorly dubbed foreign martial arts flick.
Scrubbing the Timeline for Placeholder Errors and Ghost Assets
Nothing kills the immersion of a high-energy daily vlog quite like a black screen with a red “Media Offline” graphic or a floating text layer that says “INSERT TITLE HERE.” When you are editing at 2 AM, your brain fills in the blanks. You know what the graphic is supposed to say, so your mind tricks you into seeing it even when it’s blank.
Run a full-speed playback from start to finish. Do not touch your mouse. Do not check your phone. Watch it just like a viewer would. Look for rogue adjustment layers, half-deleted B-roll clips sitting on Video Track 4, and forgotten green screen plates that didn’t key out properly. These micro-mistakes scream amateur hour, and they destroy your retention rates because viewers bounce the second they sense a lack of polish.

Color Grading Sanity Check on Multiple Monitors
Color grading in a dark room is a trap. You push the shadows down, crank the saturation, and think you’ve created cinematic art. Then, you export, check it on your phone outside in the sunlight, and realize your face looks like an oil slick.
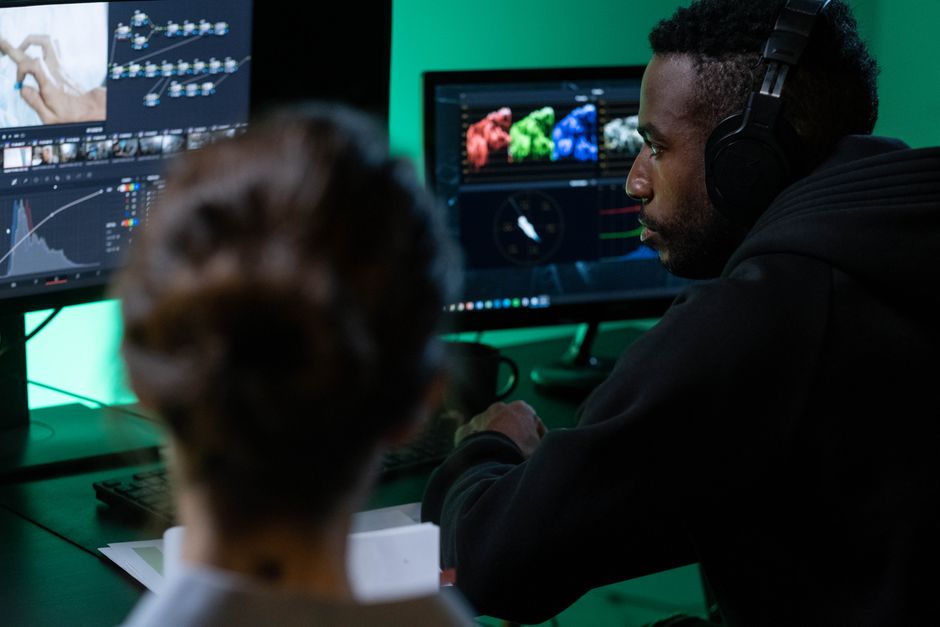
Take off your headphones. Step back. Look at your scopes—waveform, vectorscope, RGB parade. Are your highlights clipping? Are your blacks crushed into a muddy abyss? If you shot your vlog across three different cameras (a mirrorless main, an action cam for the walk-and-talk, and an iPhone for the car ride), match the skin tones by eye and by numbers. Utilize standard Adobe Premiere Pro export presets or your NLE’s built-in scopes to verify consistency. Consistency beats perfection every single day of the week.
Codec, Container, and Bitrate Optimization
Let’s talk technical specs, because getting this wrong means your crisp 4K footage turns into a pixelated blocky mess once the platform’s compression algorithm chews it up. For web distribution, H.264 or H.265 (HEVC) wrapped in an MP4 container remains the industry standard. But don’t just rely on default templates.
Look at your bitrate settings. Variable Bitrate (VBR) 2-pass is almost always superior for final output, giving complex scenes the data they need while saving bandwidth on static talking-head shots. If you want to dive deeper into official platform requirements, consult the YouTube recommended upload encoding settings to match frame rates, keyframe intervals, and color spaces precisely. Exporting in 60fps when your footage was shot at 24fps introduces nasty stuttering frames that will give your audience motion sickness.
Final File Naming and Destination Sanitation
You’ve rendered. The file is saved. But what is it called? `Vlog_Final_v2_FINAL_edit_actual_real(1).mp4`? Stop that right now. Clean file management separates professionals from hobbyists.
Name your export file using a logical, searchable convention: `[Date]_[Vlog-Title-Slug]_[Resolution]_[Codec].mp4`. Save it directly into your project’s master archive folder, not your desktop where it will inevitably get deleted or lost in a sea of screenshots. Back up the project file and assets onto an external drive before you clear your cache. Because the moment you delete those cache files to free up space is the exact moment a viewer finds a typo in the thumbnail text and begs you for a re-upload.
Frequently Asked Questions
Should I export my daily vlogs in 4K or 1080p?
It depends on your upload bandwidth and target platform. While 4K yields better visual quality due to higher bitrate processing by platforms like YouTube, it quadruples export and upload times. If you are on a tight daily turnaround, a pristine 1080p export with a high bitrate often looks fantastic and saves you hours of rendering agony.
Why does my video look so dark after exporting?
Gamma shift between editing software and media players is a classic headache, especially when moving between Mac and PC ecosystems. To minimize this, check your color management settings, avoid monitoring in spaces with extreme ambient lighting, and preview your exported file in multiple players (QuickTime, VLC, and a web browser) before uploading.
What is the best audio format for video exports?
AAC at 320kbps is the gold standard for web video delivery. It provides crystal-clear dialogue and music reproduction while remaining lightweight enough to prevent container sync issues during platform compression.
How can I speed up my export times without sacrificing quality?
Leverage hardware-accelerated encoding using your graphics card (GPU) rather than relying solely on your CPU. Ensure your NLE is fully updated, and clear your render cache regularly so the software isn’t choking on corrupted temporary files during the export queue.