
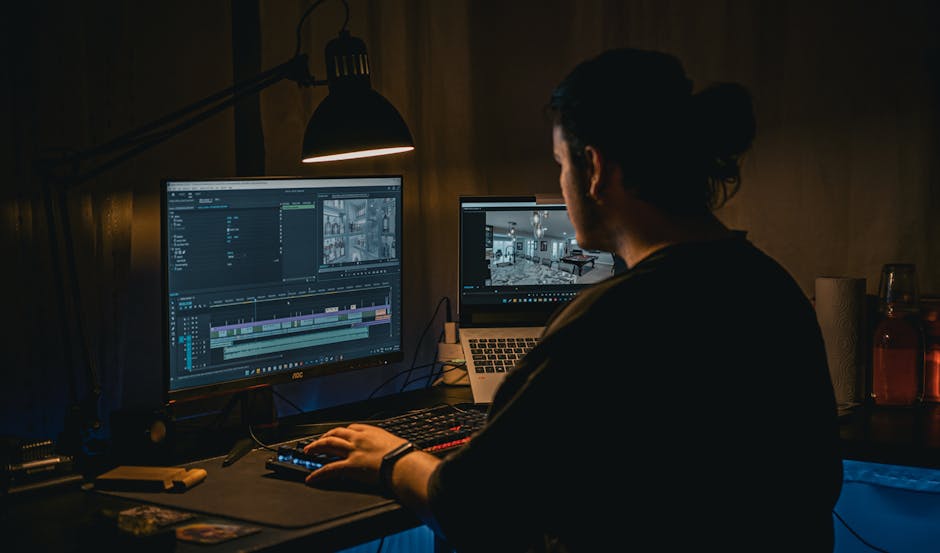
You’ve been staring at the progress bar for twenty minutes. It’s stuck at 87%. Your laptop fan sounds like a jet engine preparing for an unauthorized transatlantic flight, and your thigh is literally burning from the thermal output. We’ve all been there. Here’s the ugly truth: laptops are inherently compromised thermal nightmares, and video rendering is the ultimate torture test for them. When you click “Export” on a 4K timeline in Adobe Premiere Pro system requirements or DaVinci Resolve, you aren’t just taxing your processor—you are asking a tightly packed mobile chassis to perform miracles without melting. Over the past decade of cutting video on everything from ancient MacBook Pros to modern liquid-metal-cooled gaming rigs, I’ve broken down every bottleneck in the book. Let’s fix your export times.
- • Why Your Laptop Chokes on Video Renders
- • 1. Unleash Hardware Acceleration (The Quick Win)
- • 2. Upgrade Your RAM and Clear the VRAM Cache
- • 3. Ditch Inefficient Codecs with a Solid Proxy Workflow
- • 4. Optimize Timeline Settings and Pre-Render Heavy Effects
- • 5. Tame the Thermal Beast (Physical Laptop Tweaks)
- ↳ Does a faster SSD actually speed up video rendering?
- ↳ Should I use software encoding or hardware encoding for YouTube exports?
- ↳ Is it safe to overclock a video editing laptop?
- ↳ How much RAM do I actually need for 4K video editing on a laptop?
Key Takeaways & Quick Overview
AI Verified
- ✔You’ve been staring at the progress bar for twenty minutes.
- ✔Your laptop fan sounds like a jet engine preparing for an unauthorized transatlantic flight, and your thigh is literally burning from the thermal output.
- ✔Here’s the ugly truth: laptops are inherently compromised thermal nightmares, and video rendering is the ultimate torture test for them.
- ✔When you click “export” on a 4k timeline in adobe premiere pro system requirements or davinci resolve, you aren’t just taxing your processor—you are asking a tightly packed mobile chassis to perform miracles without melting.
Why Your Laptop Chokes on Video Renders
Thermal throttling is the silent killer of export speeds. Manufacturers slap a gorgeous, thin chassis on a machine, shove an 8-core CPU and a discrete GPU inside, and hope for the best. Within three minutes of heavy rendering, temperatures spike to 95°C. The system panics, cuts your clock speeds in half, and suddenly your high-end laptop is performing like a Chromebook from 2015. Trust me on this: raw specs on a spec sheet mean nothing if your cooling system can’t vent the heat.
Beyond thermal walls, you are likely battling memory bandwidth starvation, unoptimized timeline settings, and background processes stealing your PCIe lanes. If you want faster exports, you need a holistic approach that targets hardware bottlenecks, software quirks, and proxy workflows. Let’s dig into the actual fixes.

1. Unleash Hardware Acceleration (The Quick Win)
Stop letting your CPU do all the heavy lifting. Modern GPUs are absolute monsters at parallel processing, yet I still see editors running exports entirely on software-only rendering. Dive into your NLE settings—whether that’s Premiere, Final Cut, or Resolve—and ensure GPU acceleration is explicitly enabled.
For NVIDIA users, make sure you are running the Studio Drivers rather than the Game Ready drivers. They offer vastly superior stability for professional video codecs. Furthermore, verify that your export settings match your hardware capabilities. If you are exporting to H.264 or HEVC, force hardware encoding (NVENC or Apple Silicon hardware encoders) instead of software encoding. You will watch your render times drop by up to 60% instantly. According to recent Puget Systems benchmarks, utilizing dedicated hardware decoders and encoders is the single most impactful toggle you can flip in modern editing suites.
2. Upgrade Your RAM and Clear the VRAM Cache
16GB of RAM was fine five years ago. Today? It’s a bottleneck. If you are editing 4K footage with color grades, transitions, and audio plugins, your operating system is constantly swapping data to your storage drive because your RAM is full. Upgrade to at least 32GB—64GB if you routinely touch After Effects or heavy Fusion compositions.
Equally important is managing your disk cache. Your NLE loves to hoard temporary render files on your primary drive. Over time, that cache gets fragmented, bloated, and slow. Go into your preferences every single week and purge your media cache. Better yet, assign your disk cache to a dedicated, high-speed secondary NVMe SSD.
3. Ditch Inefficient Codecs with a Solid Proxy Workflow
Stop editing straight out of your camera’s native H.264 or H.265 wrapper. These codecs use inter-frame compression, meaning every single frame requires complex mathematical decoding on the fly. Your laptop processor hates this.
Instead, ingest your footage and generate proxies using an intra-frame codec like ProRes 422 Proxy or DNxHR LB. Yes, the file sizes are larger. But your laptop’s CPU and GPU can decode these files almost effortlessly during playback and timeline scrubbing. When it’s time to export, simply toggle back to your full-resolution original media. Your timeline will be smoother, and your final render won’t choke on poorly compressed source files.
4. Optimize Timeline Settings and Pre-Render Heavy Effects
Not all effects are created equal. Heavy color grading, noise reduction, and third-party motion graphics plugins will destroy your export times if placed haphazardly across an unrendered timeline.
- Render In to Out: If you have complex, red-bar sections on your timeline, pre-render them locally before hitting final export. Your final export will simply stitch these pre-rendered files together rather than calculating them all at once.
- Disable Unnecessary Adjustments: Turn off heavy adjustment layers containing grain, sharpening, or heavy color passes while you work. Only enable them at the final moment of export.
- Check Sequence Settings: Ensure your timeline preview codec matches your final export codec to avoid redundant transcode cycles.
5. Tame the Thermal Beast (Physical Laptop Tweaks)
If your laptop is physically hot, it’s throttling. You can’t code or render your way out of bad physics. Elevate the rear of your laptop by an inch using a stand or bottle caps to allow the intake vents to breathe. Better yet, invest in a dedicated laptop cooling pad with sealed foam gaskets that force air directly into the intake ports.
If you’re feeling technically bold, open up the chassis and clean out the dust bunnies that have accumulated in the heat sink fins. For advanced users, repasting the CPU and GPU with high-end thermal compound (or phase-change thermal pads) can drop temperatures by 5 to 10 degrees Celsius, instantly recovering lost clock speeds.
Frequently Asked Questions
Does a faster SSD actually speed up video rendering?
Yes and no. A faster NVMe SSD speeds up file read/write operations, media caching, and importing/exporting large files. However, once the data is loaded into RAM and VRAM, the raw processing speed depends on your CPU and GPU. That said, a slow drive causes severe bottlenecks during heavy disk cache writing, so an NVMe drive capable of 3,500MB/s+ is non-negotiable for serious video work.
Should I use software encoding or hardware encoding for YouTube exports?
Always use hardware encoding (like Apple VT Hardware Encoder or NVIDIA NVENC) unless you have a specific broadcast delivery specification that demands multi-pass software encoding. Hardware encoding is nearly as sharp, utilizes dedicated silicon circuits on your chip, and exports in a fraction of the time.
Is it safe to overclock a video editing laptop?
No. Laptops have strict power delivery and thermal limits. Overlocking will push your thermals past the tipping point, resulting in immediate thermal throttling, system instability, or potential hardware degradation. Instead of overclocking, focus on undervolting (if your CPU allows it) to reduce heat while maintaining stock performance.
How much RAM do I actually need for 4K video editing on a laptop?
32GB is the modern baseline for comfortable 4K editing. If you run multiple Adobe apps simultaneously, use heavy third-party plugins, or edit multi-cam timelines, 64GB is strongly recommended to prevent memory swapping.