
Simple Camera Settings for Smooth Handheld Walking Vlogs Guide
I’ve watched thousands of travel vlogs over the years, and nothing kills my attention span faster than footage that looks like it was shot during an earthquake. You know the kind I’m talking about. The horizon is bouncing up and down, the viewer gets motion sickness within five seconds, and the creator is trying to talk over the mechanical clatter of terrible stabilization. Here’s the ugly truth: you don’t need a five-thousand-dollar cinema rig to fix this. Most of the time, your gear is fine. Your camera settings are just an absolute mess.
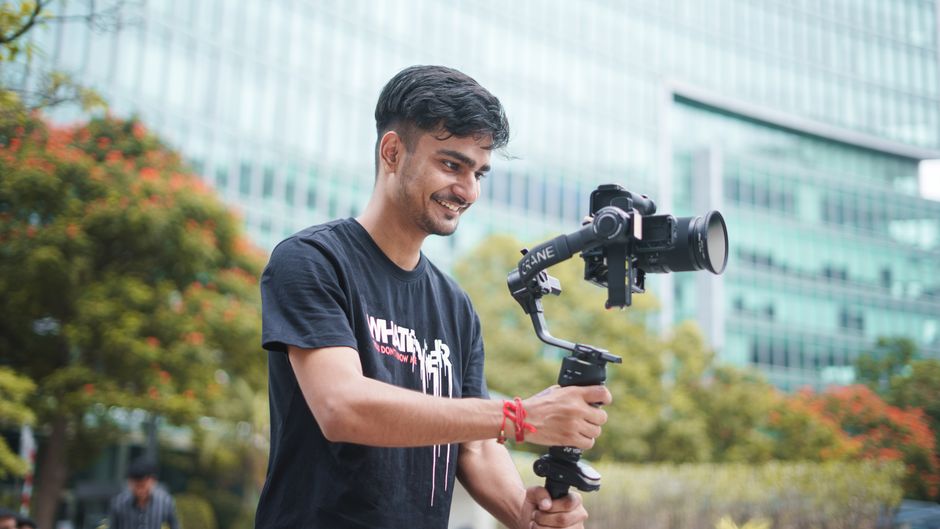
Trust me on this. I learned the hard way after spending a humid afternoon in Tokyo with completely unusable footage because I left my shutter speed on auto. The camera panicked, the motion blur smeared across every frame, and my hard drive paid the price. Fixing shaky walking footage isn’t about slapping a heavy post-production warp stabilizer on your timeline and praying. It starts right there in the exposure triangle, long before you ever press record. Let’s break down the exact configuration you need to dial in.
- • The Shutter Speed Rule That Stops Motion Blur
- • Internal Stabilization vs. Digital Tricks
- • Aperture and ISO: The Underexposed Secret
- ↳ Should I use 24fps or 60fps for walking vlogs?
- ↳ Is digital stabilization worth turning on?
- ↳ Why does my walking footage look jumpy even with a gimbal?
- ↳ What is the best lens focal length for handheld vlogs?
Key Takeaways & Quick Overview
AI Verified
- ✔Simple camera settings for smooth handheld walking vlogs guide i’ve watched thousands of travel vlogs over the years, and nothing kills my attention span faster than footage that looks like it was shot during an earthquake.
- ✔The horizon is bouncing up and down, the viewer gets motion sickness within five seconds, and the creator is trying to talk over the mechanical clatter of terrible stabilization.
- ✔Here’s the ugly truth: you don’t need a five-thousand-dollar cinema rig to fix this.
- ✔Your camera settings are just an absolute mess.
The Shutter Speed Rule That Stops Motion Blur
Let’s clear up the biggest myth in mobile and handheld filmmaking right out of the gate. You’ve probably heard of the 180-degree shutter rule. In plain English, it means your shutter speed should be double your frame rate. If you are shooting at 24 frames per second, your shutter speed locks in at 1/50th of a second (or 1/48th if your body offers it).
Stop right there. Put down the camera. If you try to shoot a walking vlog in bright sunlight at 1/50th of a second without any extra glass on your lens, your image will turn into a blinding white mess. Your aperture will be maxed out at f/22, introducing horrible diffraction, and your footage will look bizarrely stuttery. Why? Because slow shutter speeds introduce motion blur. When you walk, your entire body bobs up and down. At 1/50th, every single step smears across the sensor, creating a nauseating trailing effect.
When I’m walking and talking, I routinely break the holy 180-degree rule. I bump my shutter speed up to 1/250th or even 1/500th of a second if the light is harsh. This sharpens every individual frame, completely eliminating that smeary motion blur. Sure, you lose a tiny bit of cinematic blur, but for a walking vlog, crisp individual frames beat muddy motion blur every single time. Want a deeper dive into the math? Read this technical guide on frame rates to understand how timing impacts your sensor.
Internal Stabilization vs. Digital Tricks
Every camera manufacturer under the sun will try to sell you on their IBIS (In-Body Image Stabilization). They throw around marketing buzzwords like “7 stops of compensation.” Sounds amazing, right? Then you walk down a cobblestone street, and your camera starts acting like it’s mounted on a pogo stick.
IBIS fights against your natural footsteps. When you take a step, the sensor floats, tries to correct, over-corrects, and then snaps back with a nasty little micro-jitter. It looks unnatural. It looks digital. To combat this, you need to understand the limitations of sensor stabilization mechanics before you head outdoors.
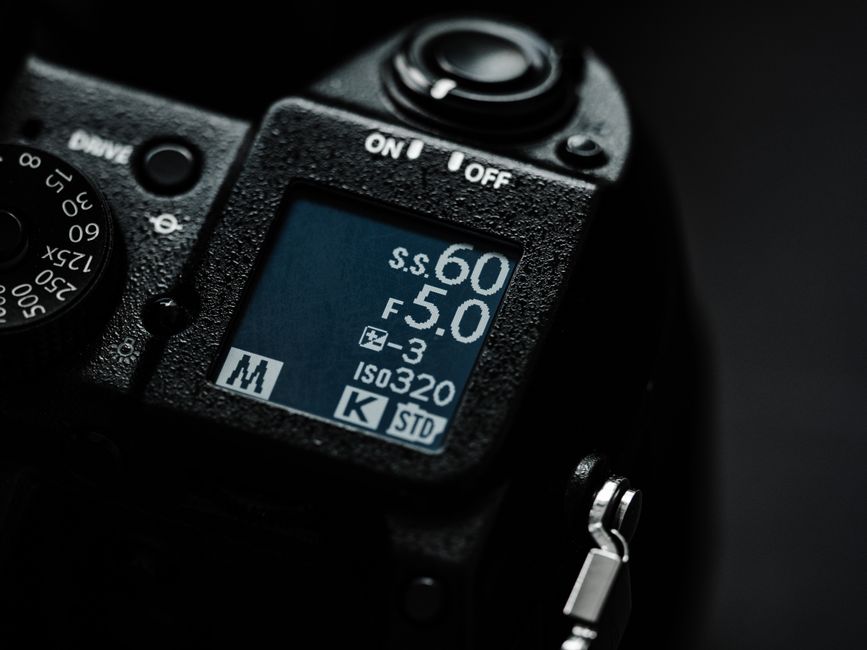
Here is my exact recipe for keeping sensor movement under control:
- Turn off Boost or Enhanced Digital Modes: Extreme digital cropping introduces artifacts and warping around the edges of the frame. Stick to standard optical stabilization or mild digital crop.
- Hold the Camera Properly: Do not hold the camera out at arm’s length like a selfie stick. Tuck your elbows tightly into your ribcage. Bend your knees. Walk like a ninja—heel-to-toe.
- Add Counterweight: A lighter camera bounces more. Adding a small microphone or a mini tripod to the bottom gives your hands something substantial to grip, dampening high-frequency vibrations.
Aperture and ISO: The Underexposed Secret
Managing your exposure while moving between bright sunlight and dark shade is the ultimate test of a vlogger’s patience. If you leave your ISO on auto while walking under a canopy of trees, your footage will pulse in brightness every time a leaf moves. It’s unwatchable.
Lock your ISO. I mean it. Turn off auto-ISO completely. Find the exposure sweet spot for your primary shooting environment, lock that ISO down to your sensor’s base (usually 100 or 400), and let your variable ND filter do the heavy lifting. A good variable neutral density filter is worth its weight in gold. It acts like sunglasses for your camera, allowing you to keep your aperture wide open for background separation while maintaining that fast shutter speed we talked about earlier.
If you’re shooting in an urban environment with heavy shadows and glaring skyscrapers, lean on your camera’s zebra patterns or histogram. Set your highlights to clip right at 95% and protect your skin tones. It is infinitely easier to pull up shadow detail in color grading than it is to recover a blown-out sky.
Frequently Asked Questions
Should I use 24fps or 60fps for walking vlogs?
It depends on your aesthetic. 24fps looks more cinematic, but it requires precise footwork and faster shutter speeds to look clean while moving. 60fps gives you much smoother motion handling and allows you to slow down the footage by 50% in editing, which instantly dampens the appearance of shakes.
Is digital stabilization worth turning on?
Only if you are willing to accept a crop factor and potential rolling shutter artifacts. If your camera has great in-body physical stabilization, turn off the aggressive digital crop and rely on your grip and physical movement instead.
Why does my walking footage look jumpy even with a gimbal?
Gimbals stabilize rotation, not vertical translation. When you walk, your body moves up and down with every step. If you don’t use the “ninja walk” technique (bending your knees and rolling from heel to toe), your camera will still bob up and down even on the most expensive motorized gimbal.
What is the best lens focal length for handheld vlogs?
Stick between 16mm and 24mm full-frame equivalent. Anything tighter than 24mm makes every minor twitch of your hand look magnified. Wider lenses naturally mask micro-jitters and keep your face in frame when holding the camera at arm’s length.