
I’ve wasted thousands of dollars and an ungodly number of weekends rebuilding the exact same lower-third graphic, color-grading node tree, and sound-effect chain from scratch. Why? Because I was lazy. I thought every video deserved a “unique” starting point. That is complete garbage. If you edit video for a living—or even just for a growing YouTube channel—reinventing the wheel on every single timeline is a fast track to severe burnout. Trust me on this: once you build a bulletproof system for reusable templates, your editing speed triples, and your brain stops leaking creativity on mindless busywork. Let’s look at how to fix your pipeline once and for all.
- • The Hidden Cost of Ad-Hoc Editing
- • Phase 1: Engineering Your Master Folder Structure
- • Phase 2: Building Modular Timeline Elements
- • Phase 3: Mastering Essential Graphics and Motion Graphics Templates (MOGRTs)
- • Phase 4: Automating Color and Export Presets
- ↳ What editing software works best for creating reusable templates?
- ↳ How do I keep my templates from feeling repetitive?
- ↳ Can I share my video editing templates across different computers?
- ↳ How often should I update my templates?
Key Takeaways & Quick Overview
AI Verified
- ✔I’ve wasted thousands of dollars and an ungodly number of weekends rebuilding the exact same lower-third graphic, color-grading node tree, and sound-effect chain from scratch.
- ✔I thought every video deserved a “unique” starting point.
- ✔If you edit video for a living—or even just for a growing youtube channel—reinventing the wheel on every single timeline is a fast track to severe burnout.
- ✔Trust me on this: once you build a bulletproof system for reusable templates, your editing speed triples, and your brain stops leaking creativity on mindless busywork.
The Hidden Cost of Ad-Hoc Editing
Here’s the ugly truth. Every time you drag raw footage onto a blank timeline without a structural blueprint, you make a dozen micro-decisions that don’t actually matter. What font size should this subtitle be? Where did I put that transition effect? Why does my audio mix peak at -1dB instead of -6dB? These tiny cognitive speed bumps compound.
Multiply those micro-decisions across fifty cuts in a ten-minute video, and you’ve just burned two hours on formatting instead of storytelling. According to Motion Array industry insights, post-production bottlenecks eat up nearly 40% of an editor’s billable week. That is dead time. To stop the bleeding, you need a master project file that acts as a digital Swiss Army knife. You aren’t just saving clips; you’re capturing your hard-earned workflow muscle memory.
Phase 1: Engineering Your Master Folder Structure
Templates don’t live on your timeline; they live in your directory. If your desktop looks like a digital landfill, stop reading right now and fix your file paths. A reusable template requires absolute predictability. When you open a new project, every asset must fall into its designated slot without you having to think.
I organize my master template projects using a strictly numerical prefix system. Why numbers? Because operating systems sort them logically, not alphabetically. Here is the exact directory skeleton I use across Adobe Premiere Pro documentation standards and DaVinci Resolve setups:
- 01_Footage (A-Roll, B-Roll, Archival)
- 02_Audio (Dialogue, Sound Effects, Music Stems)
- 03_Graphics (Lower Thirds, Logos, Title Cards)
- 04_Exports (Drafts, Client Review, Master Deliverables)
- 05_Project_Files (Auto-saves, Scratch Disks)
If you hand this folder structure to a junior editor or open it yourself six months from now, you shouldn’t have to hunt for a single asset. Simplicity scales. Complexity breaks.

Phase 2: Building Modular Timeline Elements
Now comes the fun part: populating the timeline. A true reusable template isn’t just an empty project shell. It’s a pre-constructed environment loaded with your standard building blocks, muted and placed strategically on tracks.
Set up your audio tracks first. Audio track mapping is where amateur edits instantly reveal themselves. Lock Track 1 for dialogue, Track 2 for secondary dialogue, Tracks 3-4 for sound effects, and Tracks 5-6 for music stems. Apply your default EQ and compression rack directly to the track mixer, not individual clips. When you drop raw dialogue into Track 1, it automatically inherits broadcast-ready processing.
Next, construct your visual placeholders. Drop generic text layers onto Video Track 3 for your lower thirds. Use placeholder shapes for picture-in-picture frames. When you start a new video, you simply swap the placeholder media with your actual content via alt-dragging or bin replacement. The positioning, drop shadows, and keyframes remain intact.
Phase 3: Mastering Essential Graphics and Motion Graphics Templates (MOGRTs)
If you rely on static text, your videos look dated. But animating titles from scratch every time is torture. This is where you leverage Motion Graphics Templates—or build your own inside After Effects and export them as MOGRTs for your NLE.
When designing a reusable MOGRT, restraint is your best friend. Don’t add twenty customizable sliders for font choices, tracking, kerning, background opacity, and stroke color. You’ll overwhelm yourself. Expose only the variables you actually change per video: Title Text, Subtitle Text, and Accent Color. Lock down everything else to maintain brand consistency.
Test your MOGRT under extreme conditions. Type a fifty-character headline into your template. Does it break the layout? Does the background box scale dynamically, or does the text spill out into the ether? Fix those constraints in the design phase so you aren’t fighting broken code when a deadline is breathing down your neck.
Phase 4: Automating Color and Export Presets
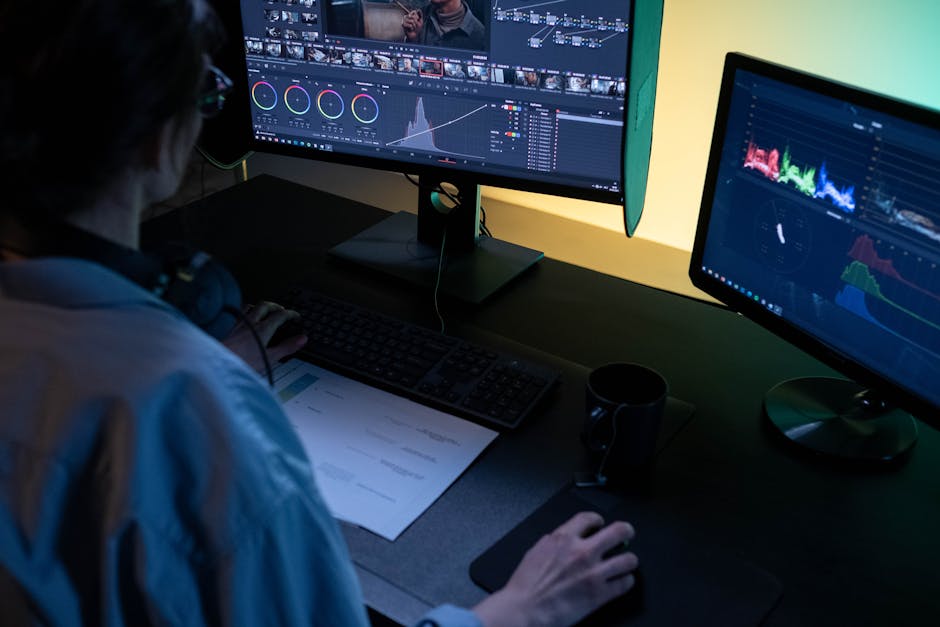
Manual color grading for standard talking-head shots is a waste of a Wednesday afternoon. Your template project should already feature an adjustment layer mapped to a standardized Look-Up Table (LUT) or a saved color preset.
Create a baseline grade tailored to your lighting setup—one for your studio, one for field interviews, one for screencasts. Drop this adjustment layer across the top video track of your template. When you import new footage, it instantly pops into your signature look without touching the color wheels.
Finally, tie it all together with export presets. Stop guessing which bitrate to use for YouTube versus Instagram Reels. Build custom presets inside your editing software that match exact platform specifications. Save them, favorite them, and never look back.
Frequently Asked Questions
What editing software works best for creating reusable templates?
Both Adobe Premiere Pro and DaVinci Resolve excel at template creation. Premiere uses project templates and MOGRTs effectively, while DaVinci Resolve shines with its node-based grading structure and Fusion composition templates. Pick the ecosystem you know best and build deep.
How do I keep my templates from feeling repetitive?
Templates provide the structural skeleton, not the soul. Use them for technical consistency—audio routing, lower-third placement, color grades, and folder structures. Leave the actual storytelling, pacing, and B-roll selection fluid for each unique project.
Can I share my video editing templates across different computers?
Yes. For Premiere Pro, save your master template as a project file (.prproj) and store your MOGRTs in your Creative Cloud Libraries. For DaVinci Resolve, export your project libraries or save timelines as macros (.setting files) to easily sync across machines via cloud storage.
How often should I update my templates?
Review your templates at least once a quarter. As your brand evolves, your visual style, microphone upgrades, or aspect ratio requirements will shift. Keep your templates lean, modern, and aligned with your current production quality.